I enjoy crafting (especially when its an easy craft). It is fun to me and becomes a stress-relieving activity. When crafting becomes a hobby, it can end up costing a lot of money if you are not careful. I try to look for good deals, use coupons, and buy second hand if need be. This craft cost me around $15 to make.
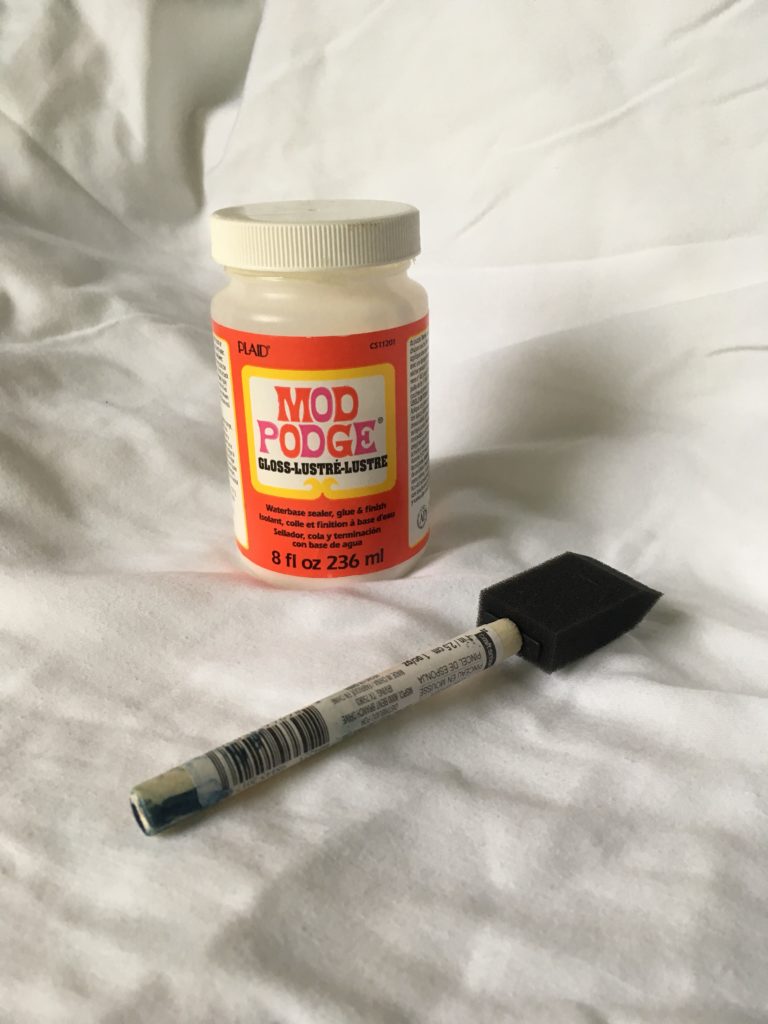
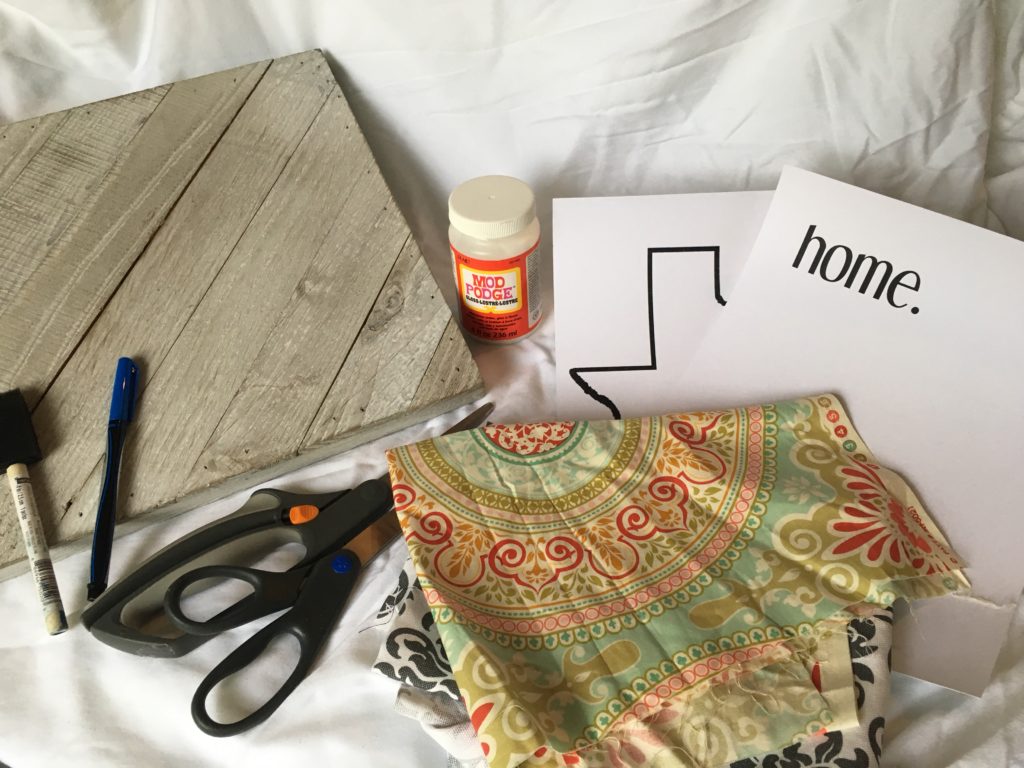 My latest DIY craft project involved some wood, fabric, and Mod Podge (I heart this stuff).
***NOTE***The gloss or matte finish Mod Podge will both work for this project.
A sweet, dear friend of mine is leaving for an extended period of time and I wanted to make her something that would remind her of home. I decided I would make her a “home” sign that she could hang in her new apartment as a reminder that her family and friends back home are missing her and praying for her.
 I want to share with you how I made it and show you just how simple it is to make, and inexpensive, so you can make one too.
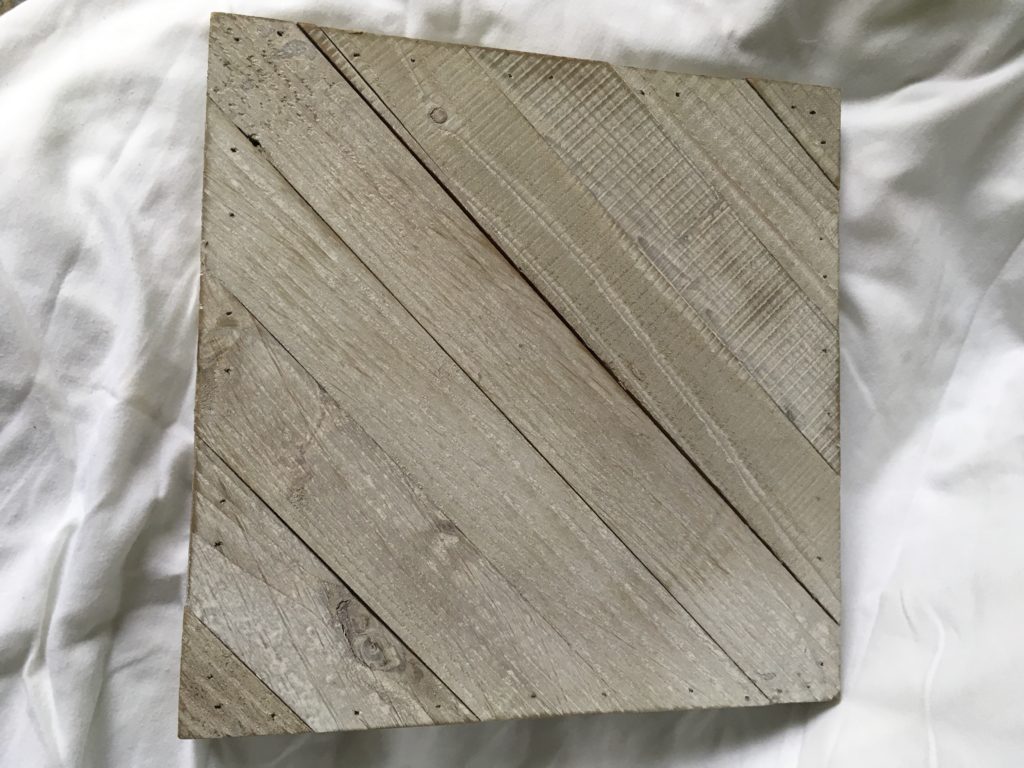
Step 1: You need a piece of wood that is around 8×8 square. I got mine from Walmart in the craft section for around $5.
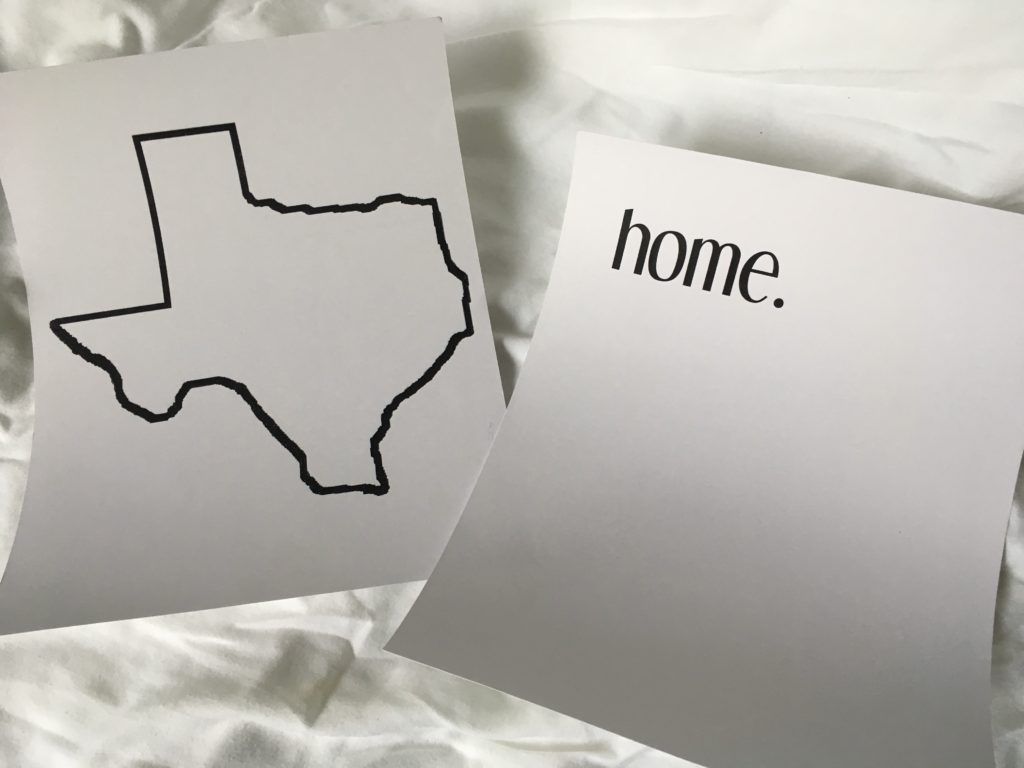
STEP 2: You will need to find an outlined map of your home state online and print it out on cardstock or regular paper. Then you will need to type out the word “home” in whatever font you would like to use. I used “dream orphans” in 85 sized font. You will also need a small heart about 1.5 inches square, if you cannot freehand that you will need to print one.
STEP 3: Cut out the state, heart, and the letters.
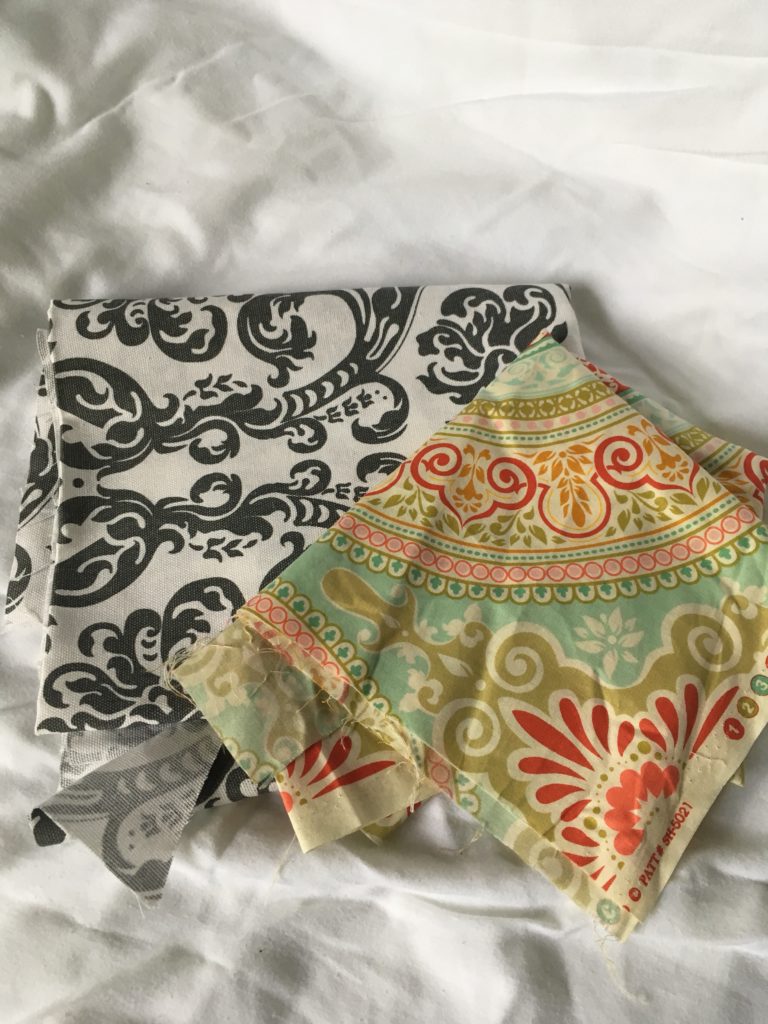
 STEP 4: You need two different colored fabric options to work with. After selecting those two fabrics, trace your state onto one of the fabric pieces you have chosen, with a fine tip pen (one that won’t bleed). Then cut out the state you have traced.
You will use your other fabric to trace your 1.5 inch heart onto. After tracing or drawing your heart on the second fabric, you will need to cut it out as well.
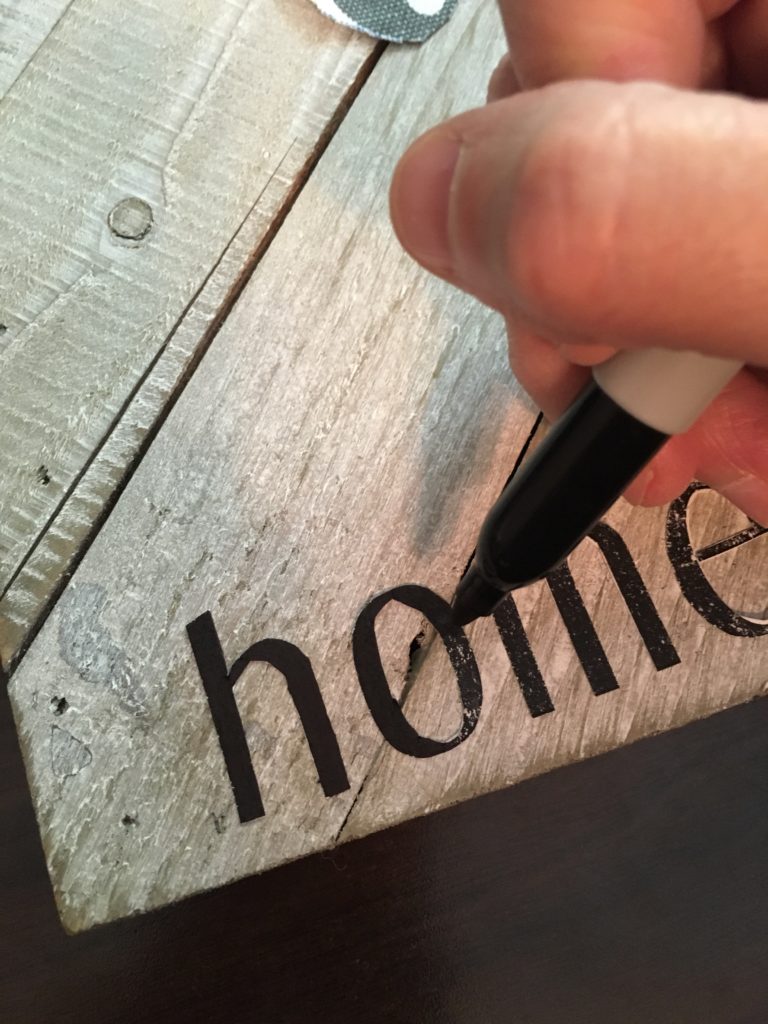
 STEP 5: You will need to use a glue stick (something like Elmer’s school glue) to glue on the letters you cut out for “home”. After gluing them where you want them, you will need to go over each letter with a black sharpie to cover over any white that is left from when you cut it out.
***NOTE*** If you have black vinyl letters or scrapbooking letters, you can also use these for this purpose.
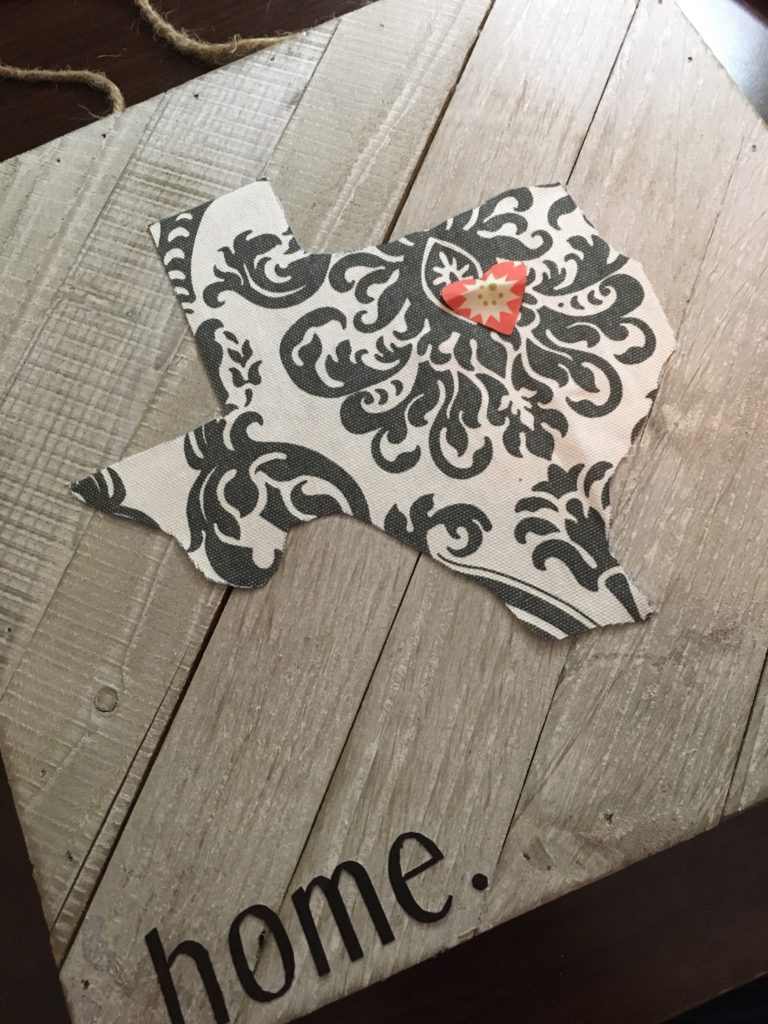
STEP 6: After you glue your letters on, place your state in the center of the board. Then place your heart wherever your city is on your state. Pour out some of the Mod Podge onto a paper plate, and very carefully brush the heart with the Mod Podge while you hold it in place, using a sponge brush.
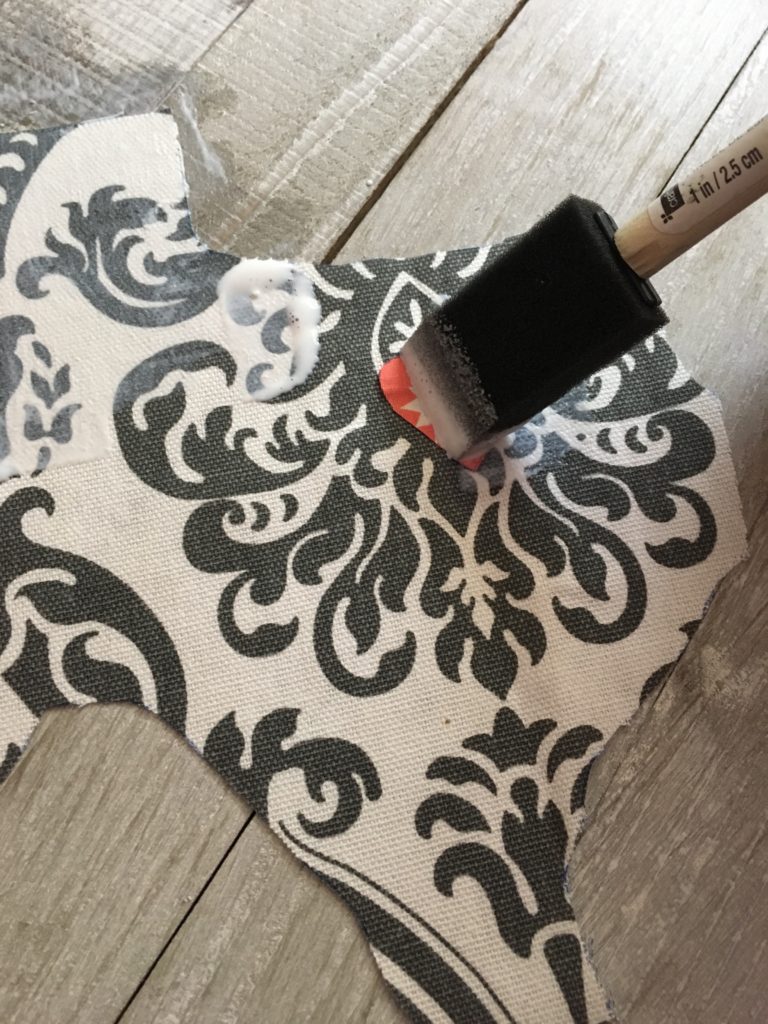 STEP 7: You will begin very carefully brushing the state with Mod Podge while holding it in place. You want to saturate the fabric really well so the Mod Podge soaks in and the fabric sticks to the wood.
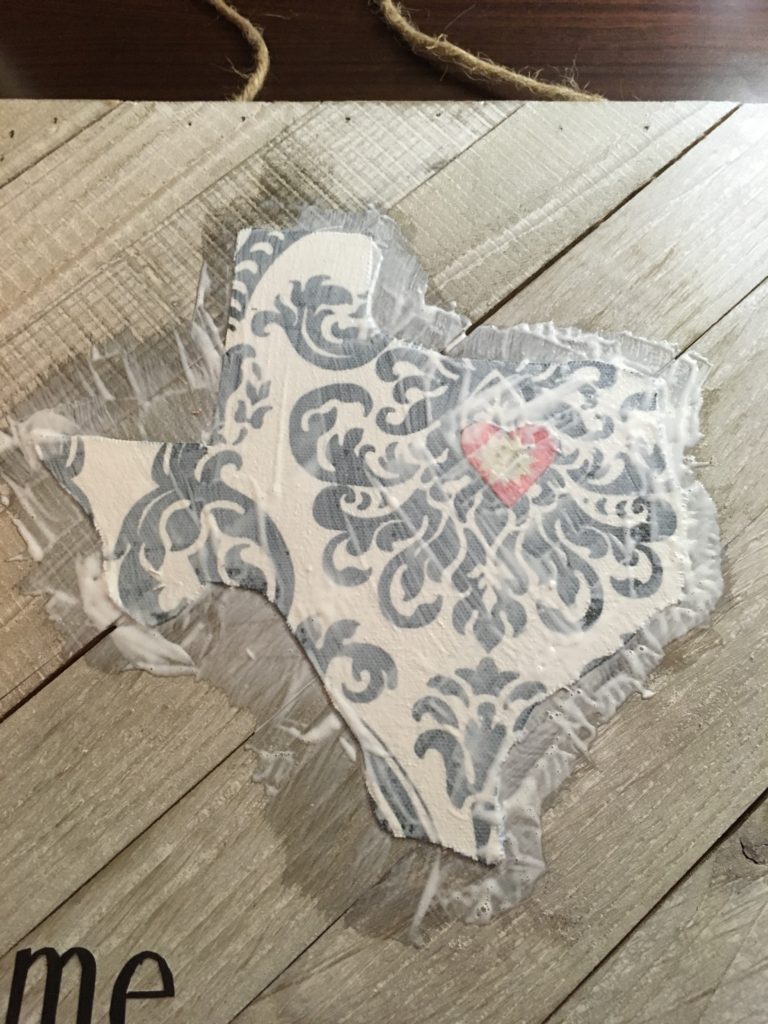 STEP 8: After “painting” the state with Mod Podge you will need to brush the entire board with Mod Podge, going in line with the grain of the wood.
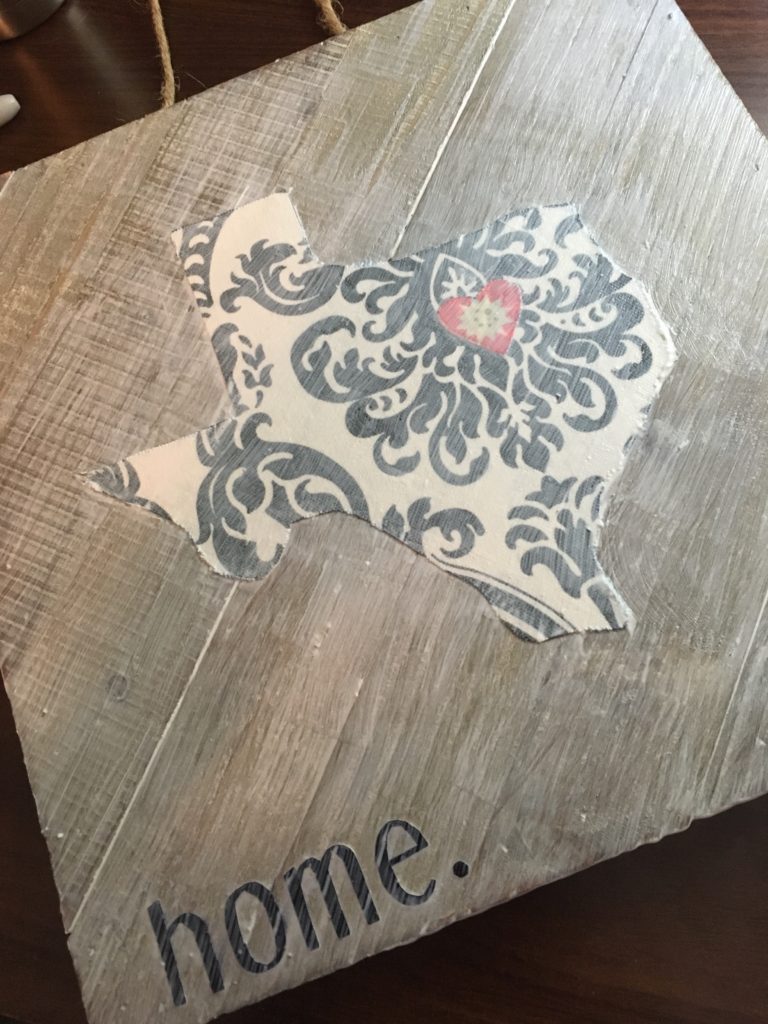 STEP 10: You will need to allow at least four hours to completely dry. If the wood feels tacky at all, allow more time to dry. The Mod Podge will turn clear when it dries and you will not see it.
And that is it!! Very easy and simple to do! I hope you found this DIY tutorial helpful. Please let me know if you have any questions, I will be glad to answer those.